
Introduction to boards
Schematic Editor
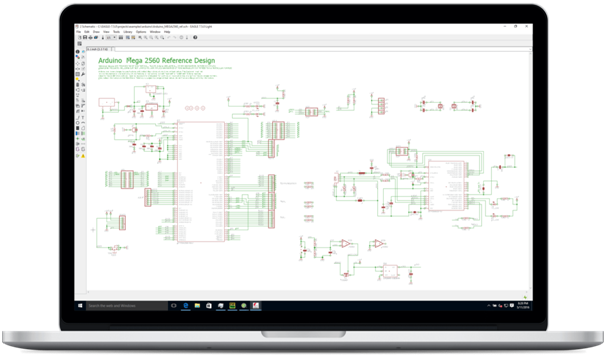
EAGLE’s easy-to-use schematic editor allows you to create an easy-to-read representation of yourELECTRONICS design with zero complexity. Be productive in minutes with the easiest, most intuitive schematic tool available! Great schematic capture is essential for documenting your design and enabling others to understand your design intent. Powerful schematic capture, a clean, consistent user interface and zero fluff make EAGLE the tool of choice for makers, hackers and professionals alike
Drawing the Schematic
A schematic can be drawn on several sheets. The basic steps in drawing a schematic are:
Checking Schematic
Creating the Board
Creating the board from a schematic is one of the easiest tasks with EAGLE. Click the Board icon and EAGLE opens a new window with all the parts arranged next to a default board outline. All the nets from the schematic are shown as air wires.
Placing the Parts
The Move command allows you to pick up each part and move it to its desired position. You can also move entire groups of parts. The right mouse button rotates the current part or group. The middle mouse button mirrors a part onto the bottom side of the board. The Ratsnest command recalculates the air wires.
Layout Editor
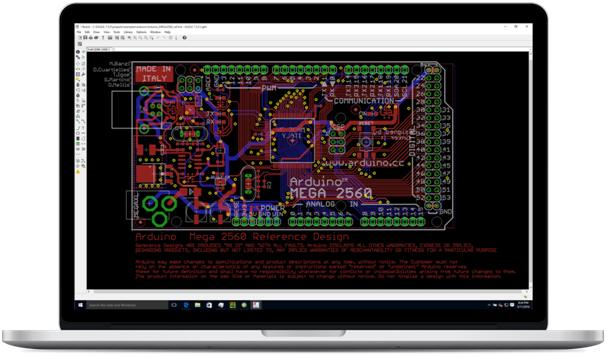
Bring yourELECTRONICS designs to life with EAGLE???s powerful, easy-to-use PCB layout editor! With a simple, consistent user-interface EAGLE PCB is easy enough for the newcomer, yet powerful enough for the professional engineer! When you need it done fast, don???t waste time re-learning your tools. and straightforward. PCB Layout brings your designs from the symbolic world of schematic into the real world. EAGLE???s PCB editor makes component placement, routing, validation and the interface to manufacturing simple.
Board Editing
At any time you can
And you never have to worry about messing up things because you have the most powerful Undo/Redo function at hand which undoes 100% of every editing command.
Autorouter
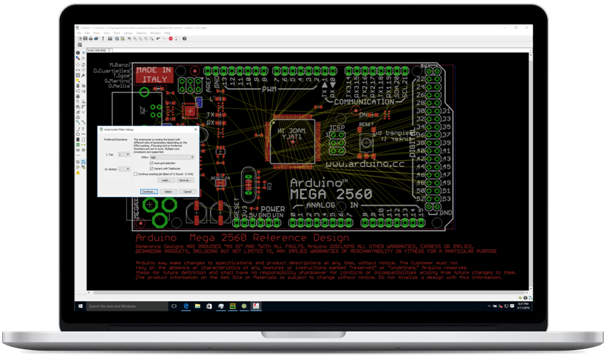
The EAGLE autorouter is a great way to get your simpler designs routed quickly and cleanly! Use the autorouter to route whole designs, start new designs, finish pre-routed designs, or even just to test how routable your component placement may be. The autorouter can be guided by adjusting its cost factors to control its routing behavior producing useful results in no time. The Autorouter protects prerouted traces giving you full control over what nets need to be manually routed and which can be routed automatically
Manual Routing
Make the connection as per the schematic.
Design Verifications
Find out the error present in board and verification.
Design Verifications
Make the GERBER file use to operating CNC machine.
Different Types of Boards
Footprint Creation
Make the silkscreen layer file.
Duration
The duration of this workshop will be two consecutive days, with four hour session each day in a total of eight hours properly divided into theory and hands on sessions
Eligibility
level workshop so there are no prerequisites. Anyone interested, can join this workshop
Certification Policy
[/list_item][/tmpmela_list]
Fee
Note
Projector & White Board is required for workshop